We are going to focus on how to organize your content.
WordPress offers two ways to organize your content: categories and tags.
These features can help you organize your content and make it easier for your readers to find the information they are looking for.
After this chapter, you’ll be able to:
- Create categories, including parent categories.
- Update and manage categories.
- Understand the difference between categories and tags.
WordPress Categories and Tags includes the following featues ….
- Creating Categories in WordPress
- Managing Categories in WordPress
- Creating ‘Tags’ in WordPress
- Managing ‘Tags’ in WordPress
1. Creating Categories in WordPress
- In your WordPress site, make sure you’re on the “All Posts” screen.
- Notice that all three of your posts are already in a category called “Uncategorized”:

Every post must be in at least one category.
- You can test this by hovering over the a post name and clicking the “Quick Edit” button
- Uncheck the “Uncategorized” box.

- Click “Update” and you’ll see that post has returned to the “Uncategorized” category. It is impossible to remove all the categories from a post.
“Uncategorized” doesn’t make much sense as a category name, so we’re going to change this post from being “Uncategorized” to having a good category.
Our first posts are about events, so let’s create an “Events” category.
- Open up your “WordCamp Europe in Belgrade” post.
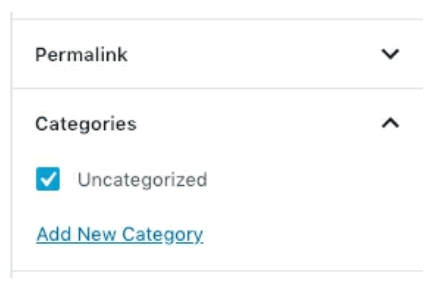
- Open the “Categories” box in the sidebar.
- Click on the “Add New Category” link.
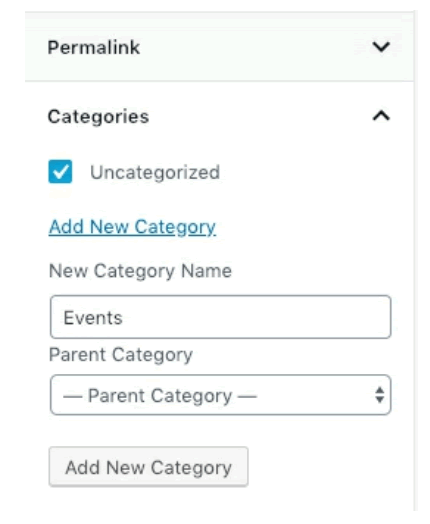
- Type in “Events”.
- Click the “Add New Category” button.
- Uncheck the “Uncategorized” button.
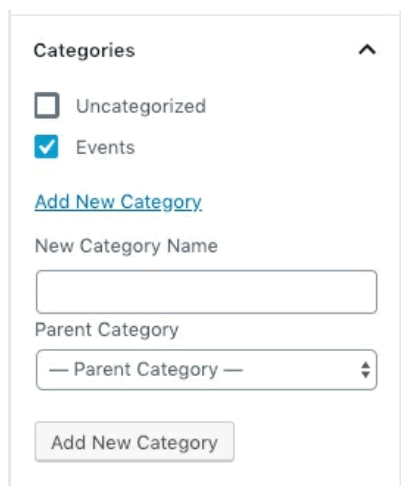
- Click “Update” at the top of the page, and the change will take effect.

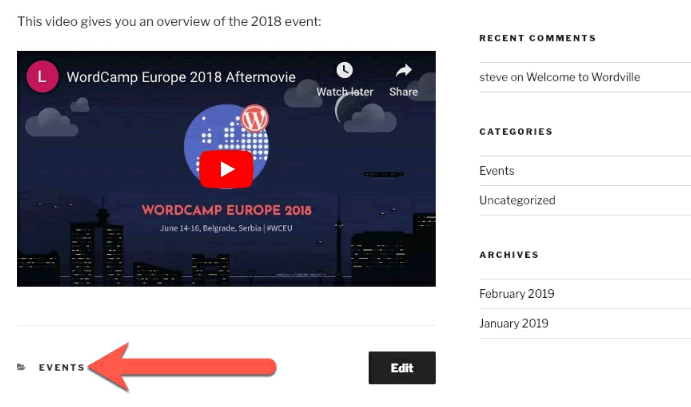
Now when you visit the front of our site, you will notice that your post says “Events”, as shown in the next image. If you click on the link to “Events”, you will find all posts that fall under that category. At the moment, there is only one post there.
You can also have child categories. For example, we may want to divide our events according to location. We can add “North American Events”, “European Events”, “Asian Events”, “African Events”, and more within the “Events” category.
- Go back to edit your “WordCamp Europe in Belgrade” post.
- Add a “North American Events” category.
- Click on the “Parent Category” menu.
- Select “Events” as the “Parent” category.
- Click “Add New Category”.

Repeat these steps for “European Events”, “Asian Events”, and “African Events”. As you can see, your posts can be in more than one category:
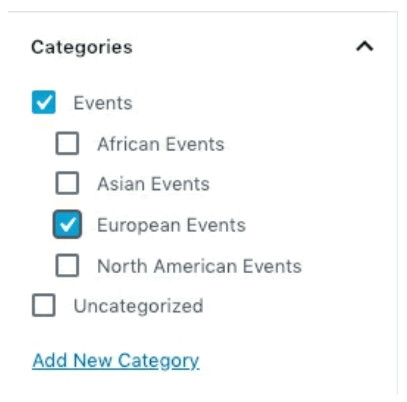
Visit the front of your site, and you will see that your post shows all the categories you have chosen:

One question we often get asked at this point is, “How many Categories should I add to my posts?” I’d recommend reading this post to get some advice from a variety of experts: http://ostra.in/max-min-tags. However, the general conclusion is that no more than two to five categories should be used on a single post.
2. Managing Categories in WordPress
You can add categories while creating posts, but this doesn’t allow us full control over categories.
For example, we still have a category called “Uncategorized”.
There is another way to manage categories.
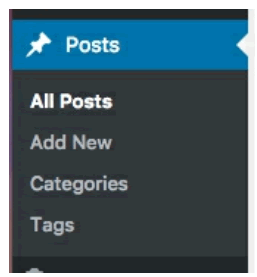
- On the left hand menu under “Posts”, there is a “Categories” link, as shown in the image below.
- From this view, we can create, edit, delete or view categories:
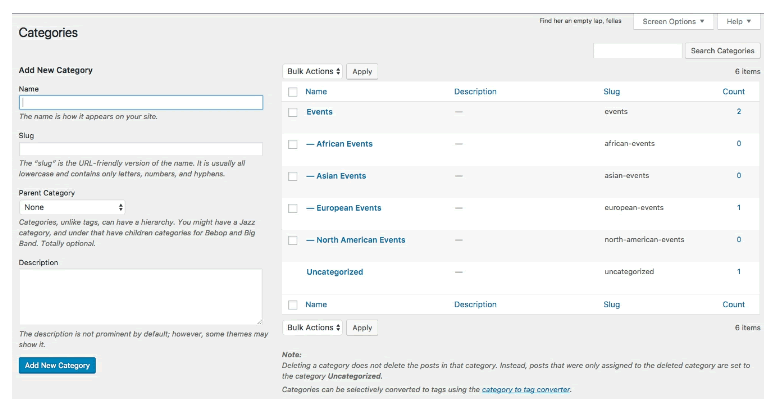
- Cick on “Edit” for the “Uncategorized” category, and you’ll see the following screen:
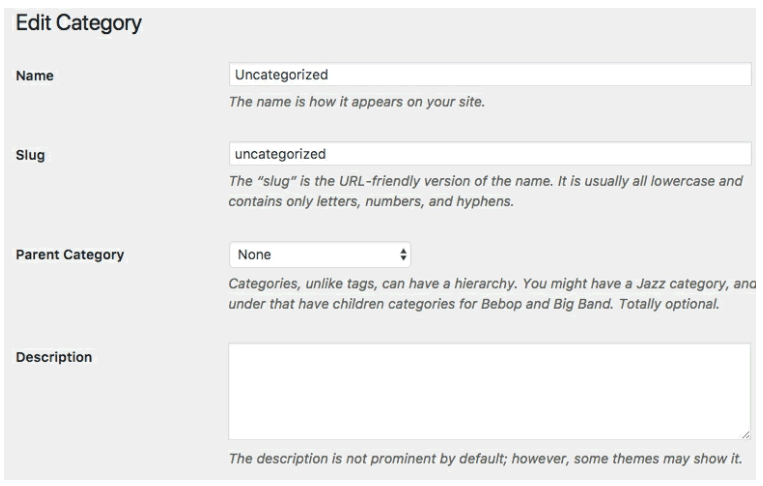
Here we can change the Name, Slug, Parent Category, and we can add a Description. The description may or may not show up on the front of the site, depending on which theme you use.
- Let’s change our “Uncategorized” category to a category called “Wordville”, as in the image below.
- Click “Update” when you are done.
This will now be the default category for our posts.

On the main “Categories” screen, you can quickly add more categories. Let’s take you through a quick example:
- Go to “Add New Category”.
- Name: WordPress News
- Click “Add New Category”.

- The new “WordPress News” category should appear in the right hand side of the screen:

- Go to “Add New Category”.
- Name: Plugin News
- Parent Category: WordPress News
- Click “Add New Category”.
- Repeat the process for categories called “Theme News” and “Official Releases”.

Great! You now have ten different categories for your content. However, only categories that have posts will be visible on the site.
- Visit the front of your site and look on the right-hand side. Only categories that are being used are shown in the “Categories” widget:
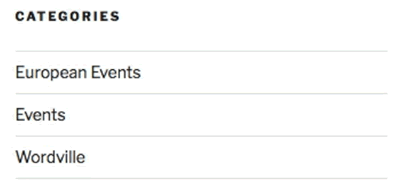
You don’t have to use categories, you can simply make one category for all your posts and then remove the “Categories” widget from the sidebar. Then categories simply become irrelevant on your site. However, once you have a large number of posts, categories are a good idea because they help people find related content.
3. Creating ‘Tags’ in WordPress
We are going to look at tags, which are another feature you can use to organize your content. It’s easy to get confused about the difference between categories and tags, and honestly to a certain extent you can use them however you want. Let’s look at how I recommend you use them.
- Go to edit the post, “WordCamp Europe in Belgrade”.
- Under “Categories”, the post is placed under “Events” and then “European Events”, as shown in the next image.
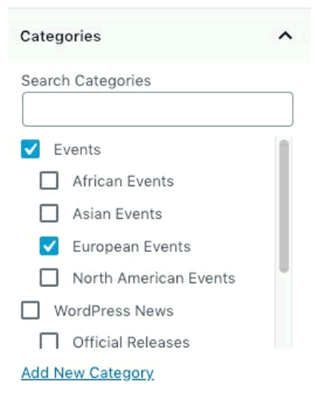
Below the “Categories” section, you see a “Tags” box. Tags are words associated with the post that you might want somebody to find when they are searching your site. However, tags are not common enough to be used as categories.
- Enter “WordCamp Europe” and click “Add”.

- You’ll see the tag added below the box. If you make a mistake, simply click on the cross next to the tag to delete it.
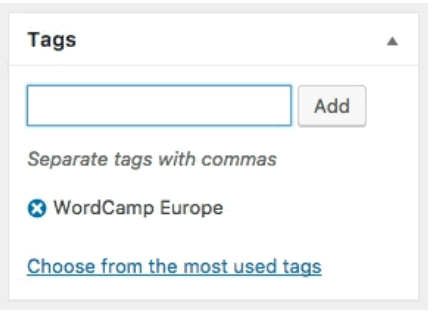
- Repeat the process with “Belgrade”, “Serbia”, “WordCamps”, “Networking”, and “Presentations”.

With tags, we’re using a freeform textbox to add new tags. There is not a parent relationship as there is with categories. Tags cannot be organized into any logical hierarchy.
However, tags appear on your site in almost exactly the same way as categories.
- Save your post and visit the front of your site.
- Scroll down, and you’ll see your new tags are presented next to the categories. From here we could click on each individual tag, and it would show us all the different posts that are associated with that tag.

At the moment, unlike categories, you can’t see the tags in the sidebar of your site.
- On the front of your site, click “Customize” in the header menu.
- Click “Widgets” and then “Blog Sidebar”.
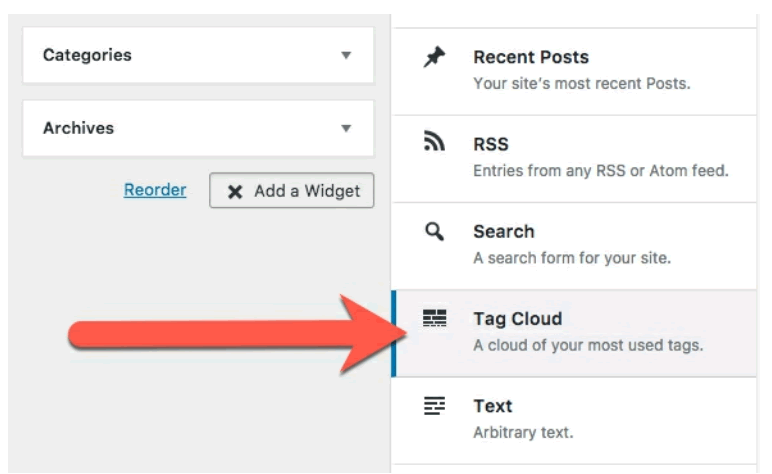
- You’ll see the widgets that are currently live on your site:
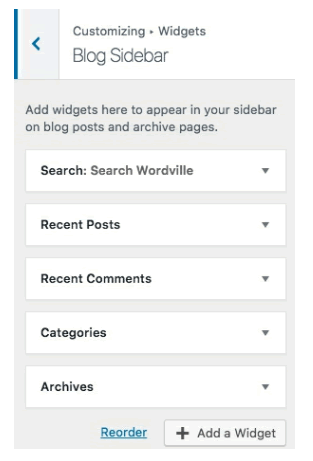
- Click the “Add a Widget” button.
- Click “Tag Cloud”.
- You’ll see that “Tag Cloud” has now been added to your sidebar:
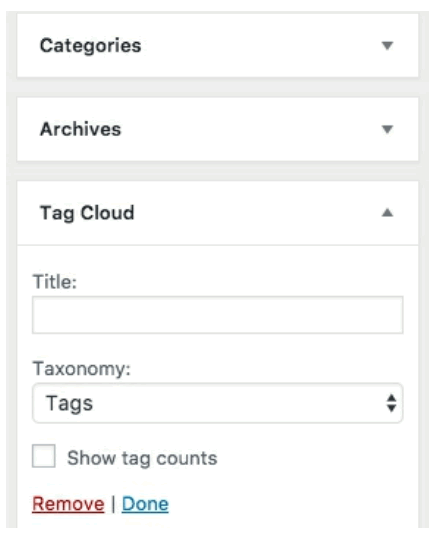
- Click “Publish”.
- Click the “X” icon to leave this screen.
- Visit the front of your site, and you’ll now see the Tag Cloud widget in your sidebar:

4. Managing ‘Tags’ in WordPress
Tags can be managed almost identically to categories.
Click on the “Tags” link in the left menu, and you’ll see an almost identical layout, with the exception of the missing “Parent” option when creating tags.

This works very much like the “Categories” page.
- There is a “Bulk Action” menu, but the only option it gives us is to delete. You can use this action to delete a number of tags all at once.
- Over on the right, there is a “Count” column that displays how many posts are in each tag. Click on the number to see posts only in that tag.
- You can also add new tags from this page very quickly, just as you can with the “Categories” page.


Comments 35