We are going to talk about the Media Library that is built intoWordPress. The Media Library allows you to store images, music, and videos that you can use anywhere on your site.
After reading this page, you will be able to:
- Edit images.
- Create photo galleries.
- Upload your own video and audio files.
- Understand more about media embeds in WordPress.
with the following features ….
- Editing Images in WordPress
- Creating Photo Galleries in WordPress
- Uploading your Own Video and Audio Files in WordPress
- More Advanced Embeds ( Uploading All sorts of Media ) in WordPress
1. Editing Images in WordPress
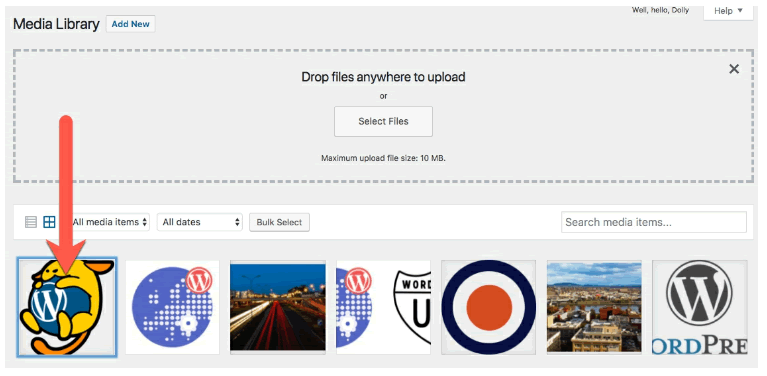
In the left sidebar, click “Media” and you will be taken to your Media Library. This is where all the images, videos, audio files, and other media is stored for your site.
Currently, you have several images in the Media Library, including images used in your posts and in customizing the look of your site.

In the Media Library, you can search for items, filter them by type or date, and you can rearrange how they are displayed.
However, you can also upload and edit media from this page too. WordPress really does have some powerful options for working with images, so let’s see them in action.
- Click “Add New” and then “Select Files”.
- Upload the wapuu.png file from the “Resources” folder you downloaded. Wapuu is the WordPress mascot. You can find many different kinds of Wapuu at https://wapu.us/wapuus/.
- Click on the image after it has uploaded:
- You can now see the file name, the file type, when it was uploaded, the file size and the image’s dimensions. You can also see the URL of the image, and you have the ability to set a Title, Caption, Alt Text and Description. I recommend always putting in at least the Alt text. This makes it easier for people with screen readers to know what’s going on in your images.
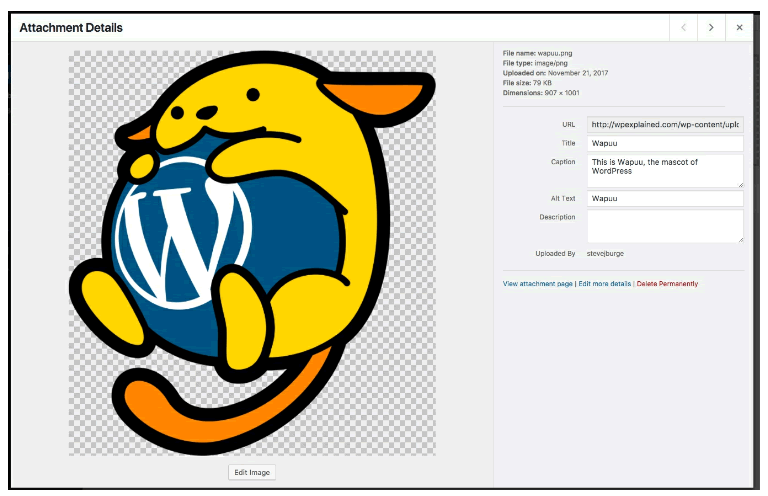
- Click the “Edit Image” link underneath the image:
- On this next screen, look at the tools over your image. Using these buttons, you can crop, rotate, and flip your image.
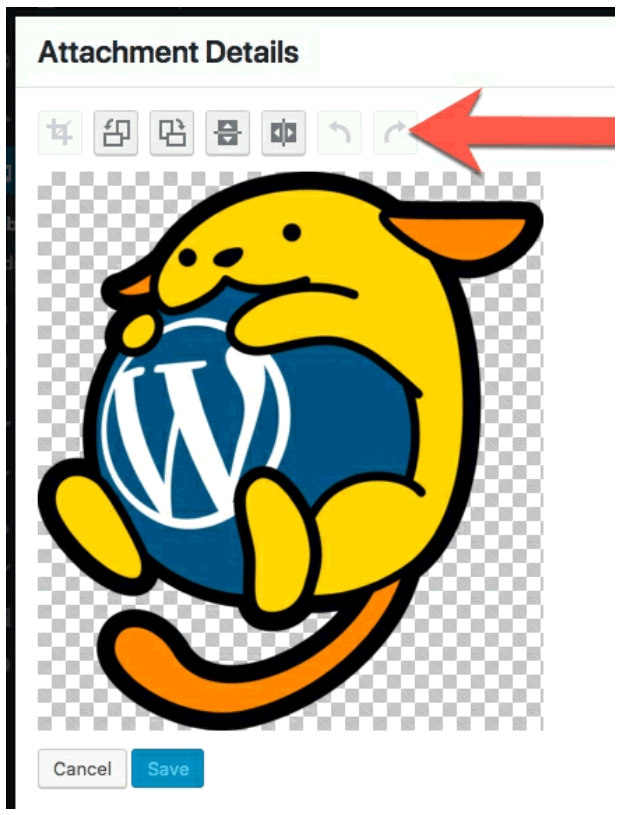
- If you want to crop your image, use your cursor to highlight an area of the image. You can do this by clicking your mouse over your image and then dragging the cursor to create a box, as in the screenshot below:

- Once you’ve highlighted the area of the image you want to keep, click the “Crop” icon in the top-left corner.
- You can rotate and flip your image using the other buttons. For example, click the “Rotate Left” button twice to turn your Wapuu upside down:

- Over on the right side, you can change the size of the image, using the “Scale Image” and “Image Crop” options:

- Notice at the bottom that WordPress allows you to “Apply changes to” different image sizes.
When you upload an image, WordPress actually makes multiple sizes of it. By default, WordPress makes a “Thumbnail”, “Medium”, and “Large” size. These sizes are defined under “Settings” and “Media”.
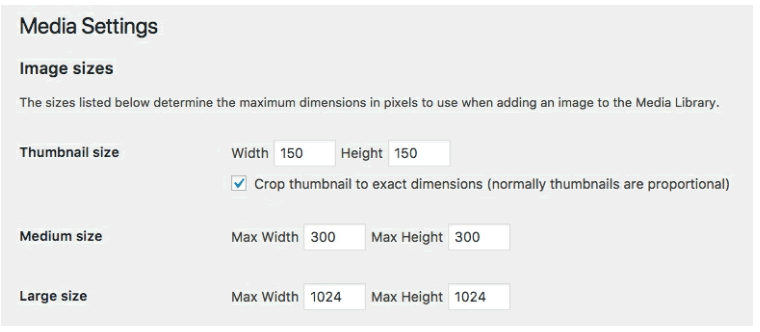
Every time you upload an image, it creates a thumbnail, medium, and large size. These are maximum heights, so if you have an image that is wider than it is tall, it will keep the aspect ratio and won’t always give you square images. It also maintains the original size, so you can work with it later if you need to.
You can choose between the different image sizes when you place images into content. Let’s see how that works:
- Go to “Pages” and then “Zoo”.
- Click the + icon and add a new Image block.
- Click the “Media Library” button.

- Choose the Wapuu image.
- Click “Select” and you can see your image added to your content:
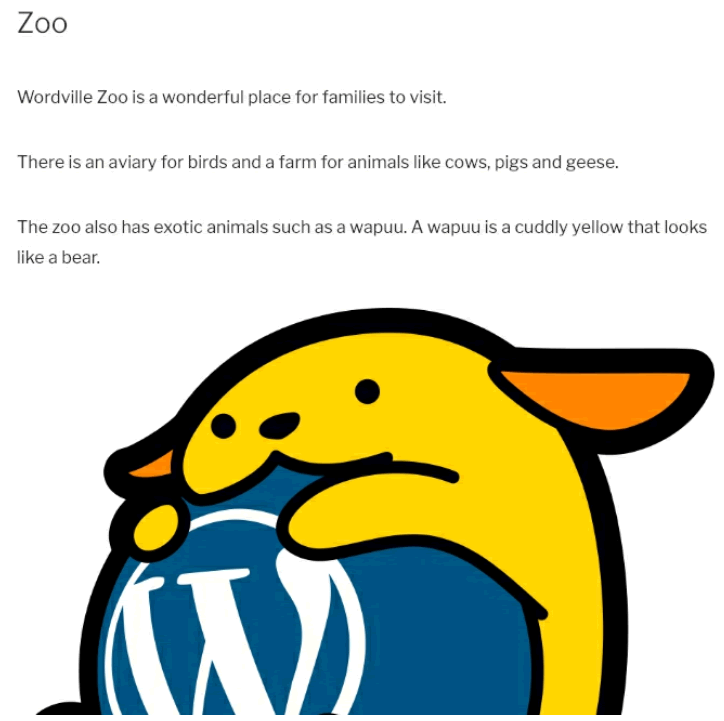
- You’ll notice that the image is really large. You can change the size of the image using the settings in the right sidebar. In this example below, I’ve chosen “Medium ” for the “Image Size”.
- I’ve also added “Alt Text” which is recommended for search engines. It’s also helpful for peope with less than perfect eyesight who may have a device that reads webpages for them.

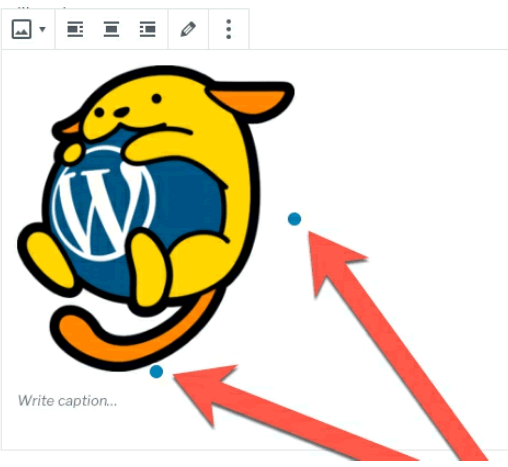
- It is also possible to grab the corners of the image and drag it to stretch the image larger:
2. Creating Photo Galleries in WordPress
WordPress allows you to upload, manage and display single images. You can also do the same for multiple images at the same time.
Earlier we built a page for the Aquarium, but we didn’t put anything on it, except for text. In this exercise, we are going to create a really cool photo gallery for our Aquarium page.
- Go to “Pages” and edit the “Aquarium” page.
- Click the + icon and add a “Gallery” block.
- Click the “Upload” button in the new block.
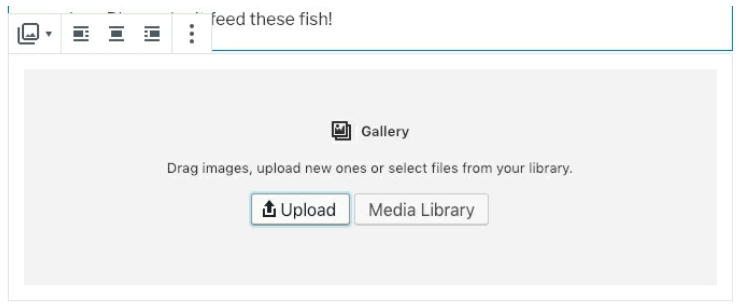
- Upload all six images from the /aquarium-gallery/ folder in the Resources folder you downloaded.
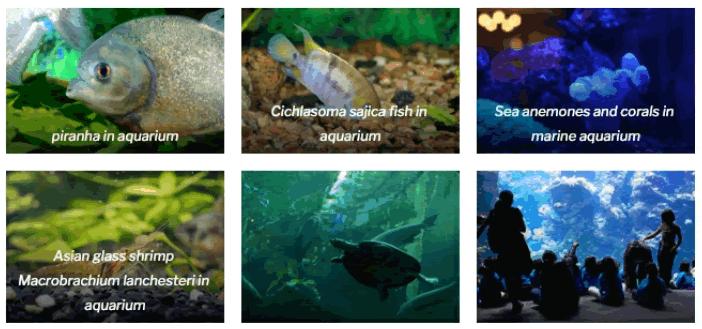
- WordPress will automatically turn those images into a gallery. WordPress is smart enough to try and use data in the images to create a caption. In this example, that has worked for 4 of the 6 images:
- In the right sidebar, you can tweak options for the gallery. For example, you can change how many columns are shown in the gallery.

- Save the page, visit the front of your site, and you can see your new photo gallery in action!

One of the great things aboutWordPress photo galleries is that while they are very simple, they are extremely extendable. There are dozens of plugins that can do wonderful things with this gallery. You can make slideshows, zoom effects, and all sorts of other cool things.
3. Uploading your Own Video and Audio Files in WordPress
We’re going to upload your own multimedia files. Earlier in the book, we used videos from YouTube. This time we’re going to use our own files.
- Go to “Posts” and click “Add New”.
- Title: Wordville Concert in the Park
- Paragraph block: Wordville is holding an event for local families. Join us for movies and music.
- Categories: Wordville
- Featured Image: Use the concert-featured-image.jpg file from the /concert-multimedia/ file in the Resources folder.
- Now we’re going to upload a video file:
- Add a “Video” block. Click the “Upload” button.
- Upload the file called movie.mp4 from the /concert-multimedia/ file in the Resources folder.
- You’ll now see the video directly inside your post:

The video will not play in your admin area, but it will work on the front of your site.
- Publish this post and have a look at the front-end of your site. You will have a working movie:
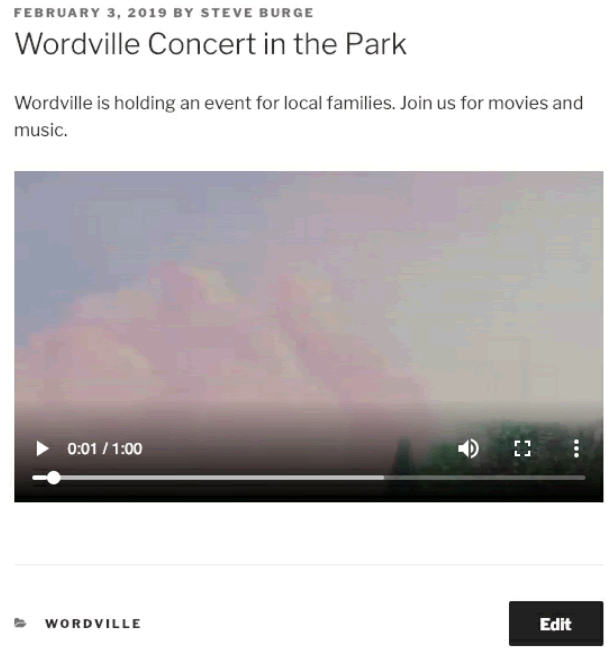
Let’s go back to edit the post and see how WordPress handles audio.
- Go back to editing the “Wordville Concert in the Park” post.
- Add an “Audio” block.
- Click on the “Upload” button.
- Upload the audio file from the /concert-multimedia/ folder in the Resources folder.
- You’ll now see that WordPress is ready to play that audio file:

As with the video, this audio file won’t play in your admin area. Click “Update” and then “View Post” to listen to this music.
4. More Advanced Embeds ( Uploading All sorts of Media ) in WordPress
Earlier, you took YouTube URLs and used those embed videos in your site. WordPress supports a wide range of sites beyond just YouTube, and you can use this feature to share all sorts of media on your site.
When you add a new block, look for the “Embeds” section. WordPress supports Twitter, Facebook, Instagram, SoundCloud, Spotify, Flickr and many other sites.

Let’s use Twitter as an example of how these embeds work:
- Go to http://twitter.com/wordpress.
- Click the date of the lastest post from the WordPress team:
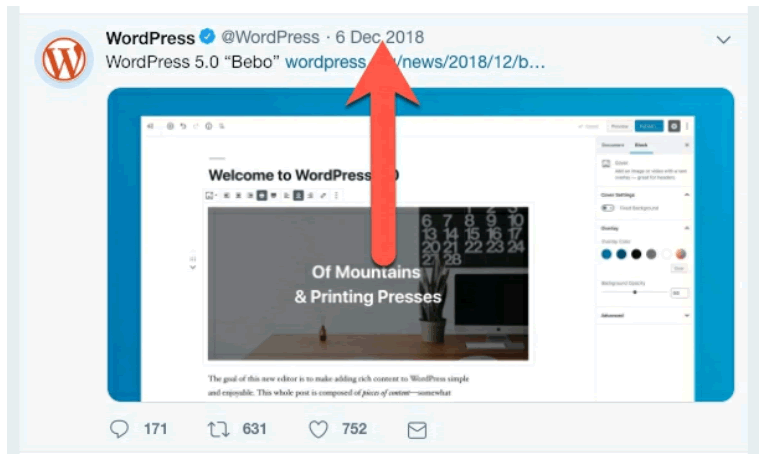
- Copy the URL of this tweet. In this example, the URL is https://twitter.com/WordPress/status
/930967986038591489. - Go to “Posts” and then “Add New”.
- Title: WordPress 5.0 is Here!
- Paragraph text: The WordPress team have just released the latest WordPress update.
- Featured Image: Use the file wordpress-release-featured-image.jpg from the Resources folder.
- Paste the URL for the tweet into the body, and you’ll see the complete tweet.

- Publish your post and visit the front of your site. The tweet should be embedded into your content and look beautiful!

This embed feature can be a wonderful way to include content from around the internet on your site. Being able to embed video, social media posts, and photos from over 30 popular websites can really enhance your site.


