We are building this site for the city Wordville, and as a friendly community, it’s great to get feedback from the people who live here.
In this page, we are going to set up a contact form. This will provide a way for the citizens of Wordville to get in contact with their local government.
After going through this page, you will be able to:
- Install a contact form plugin.
- Create a custom contact form.
- Publish and use a contact form.
with the following Featues ….
- Installing a ‘Contact Form Plugin’ in WordPress
- Publishing and Using the Contact Form in WordPress
1. Installing a ‘Contact Form Plugin’ in WordPress
For the contact form, we’re going to use a plugin called Ninja Forms. In the last chapter, we saw that Ninja Forms has very positive reviews, over 1 million users, and is frequently updated.
- Go to “Plugins” and then “Add New”.
- Search for “Ninja Forms”.
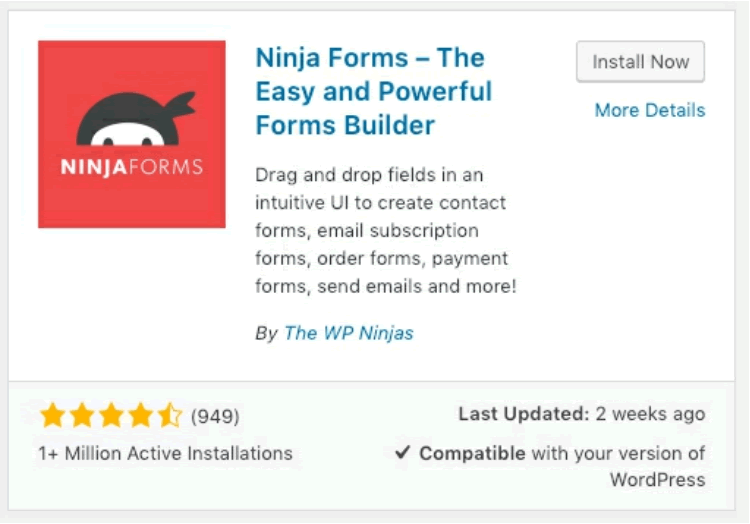
- Click “Install Now” and then “Activate”.
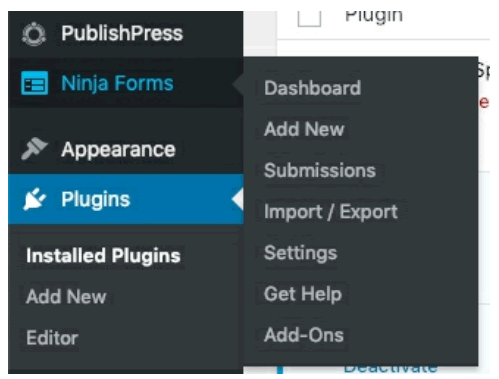
- Click “Ninja Forms” in the admin menu:
- You see a “Contact Me” form that has already been created.
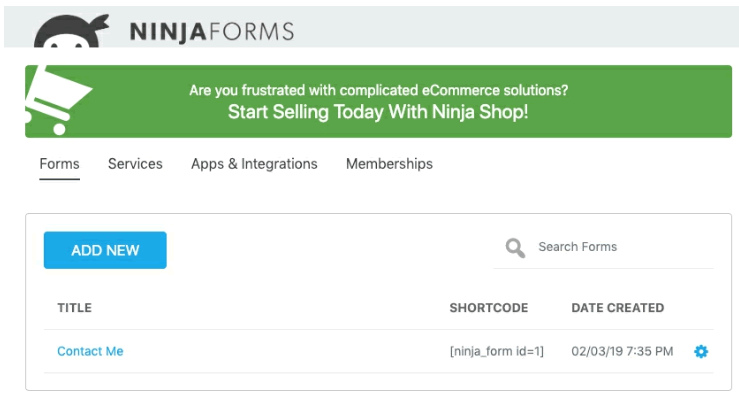
- Click the Title, which in this case is “Contact Me”.
- You see that our form will have a place for people to leave their name, email and message before submitting.

However, let’s add another field so we can collect more details from people who contact us.
- Click the big, blue “+” button in the bottom right corner.

- You will now see a range of different fields, including “Single Checkbox”, “Date”, “Address”, “City”, “Email”, “First Name”, and more.

- Drag the “Phone” field from the right column and move it into the left column. Make sure to drag it inside the blue-outlined box.

- You can place this new “Phone” field into the middle of the form:

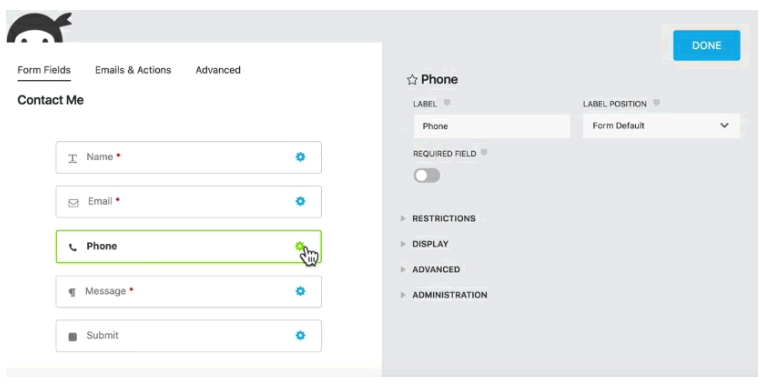
If you click on the cog icon on the right of each field, it will open up a settings box for that specific field, as shown in the image below. Here you can control several key elements about this field, including the label that visitors will see and whether the field is required.
- Now that we have added a phone field, navigate to the “Emails & Actions” tab.
- Each of these rows is an action that takes place when the form is submitted. The first thing that it does is save the form submissions to the database.

- Click the cog next to “Email Confirmation”. Here you can control the “Thank You” email that is sent to the user after they contact you.

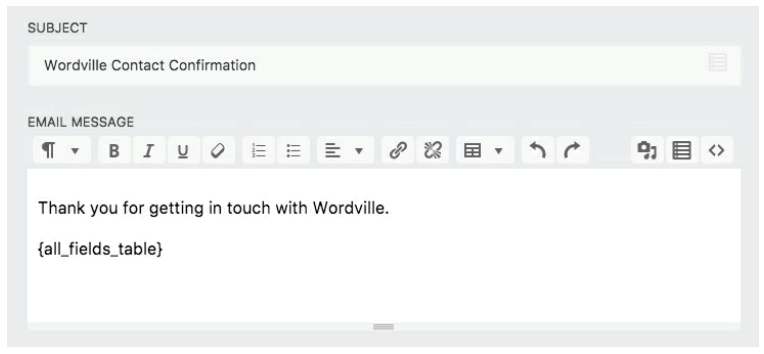
- “Submission Confirmation” is a pretty bland subject line so, change it to say “Wordville Contact Confirmation”.
- In the body area, write “Thank you for getting in touch with Wordville.”
- The third option, “Email Notification”, controls the email that is sent to you after the user sends a message.
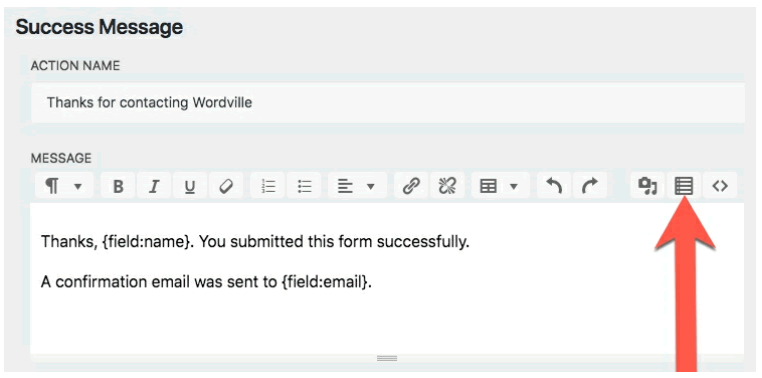
- The final option, “Sucess Message”, is the text users will see on the screen after contacting you. Let’s personalize this text also to make it more friendly. If you want to include details from the form submission, click the “Table” icon shown below:
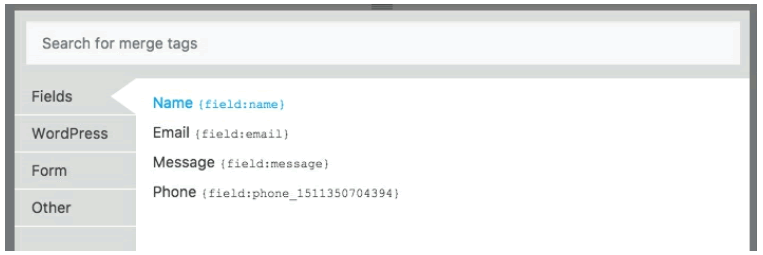
The pop-up window will give you all the details you can use inside the form message. For example, to use the visitor’s name in a message, you can use {field:name}.
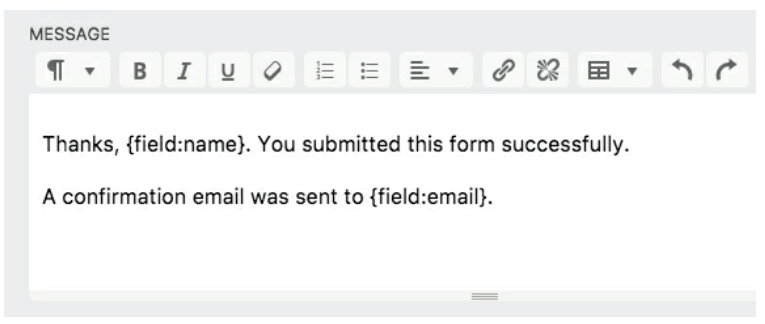
- Here’s an example of how to use that personalization, by placing {field:name} into the body:
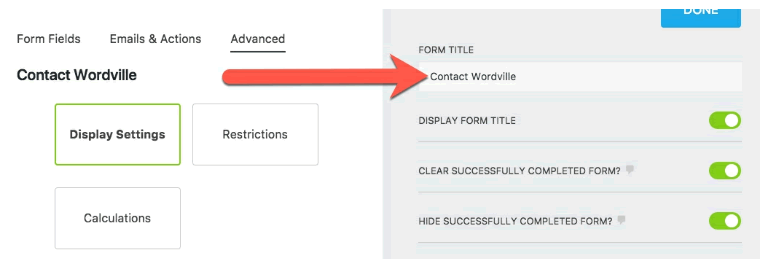
- Now let’s go across to “Advanced” and then click on “Display Settings”.
- Here you change the name of the form to “Contact Wordville”.
- Click the “Done” button to save the new title.
- Click the “Publish” button to complete your changes to the form.
2. Publishing and Using the Contact Form in WordPress
You now have a contact form, but it isn’t available to your visitors yet.
Remember back to the chapter on photo galleries when we briefly showed you the shortcode that was used to create the galleries.
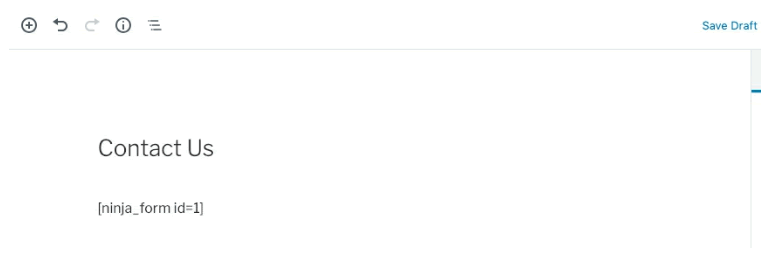
Ninja Forms has shortcodes too, and those can be used to place forms on our site. Copy-and-paste the shortcode for this form.
- Go to “Pages” and then “Add New”.
- Place the shortcode into the page, as in the screen below.
- Click “Publish” twice.
Next, let’s make it possible for people to access this new form:
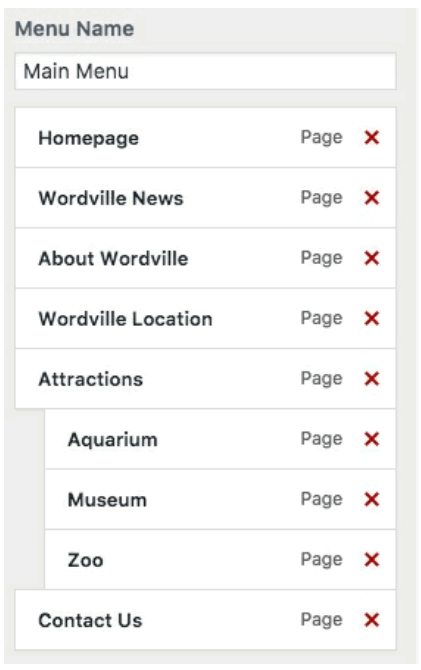
- Go to “Customize”, then “Menus”, and then “Main Menu”.
- Click “Add Items”.
- Add “Contact Us” to your menu links.
- Click “Publish” to save the changes.
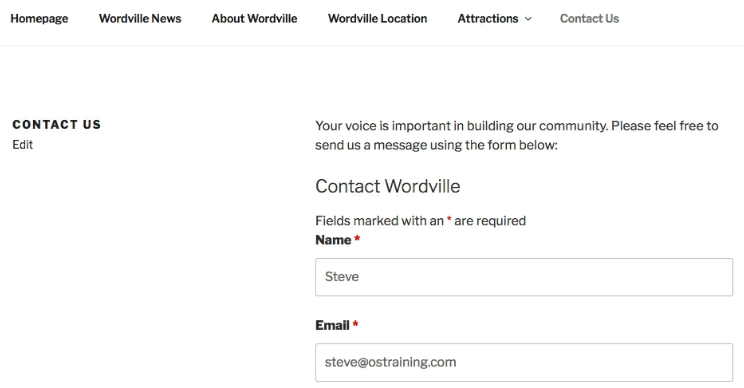
- Visit the front of your site, and you’ll see your form in action.
- Try using the form. You have required fields, so if you try to submit empty fields, those required fields will turn red. So at a minimum you must put in your name, email, and our message.
- Fill out those fields and click “Submit”.
- Once you click “Submit”, the form disappears and you see this success message:

- To see the messages sent via your form, go to “Ninja Forms”, then “Submissions” and select your form.
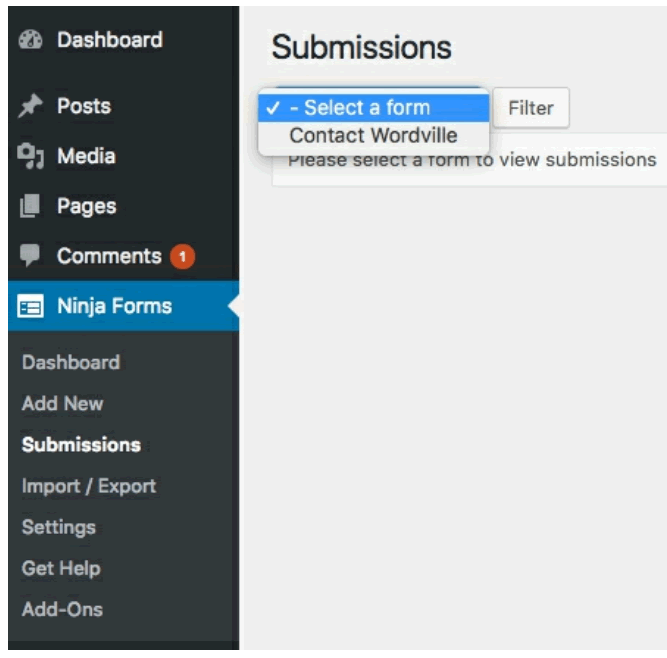
- You’ll now see a table with all the entries for this form:


